Overview
After several gallon batches of homebrew done on my stove in a small pot, I decided its finally time to get a bigger kettle. My starter kettle was a 4 gallon, so this required me to brew in multiple smaller batches and then combine them in the fermenter. This meant double the chance for contamination, and double the time and clean up. BUT…..I’m cheap, so I opted to go the keggle route. I have several family members who have been tied to the distribution industry over the years, I ended up with several orphaned kegs in my possession, so why not put one to use. This is an ever evolving build, so I will continue to update this as I make changes to share the journey.
NOTE: All of this links to my Amazon Affiliate store and will provide me some income. This blog is a spendy endeavor and I would appreciate using them to help support these projects and the time it takes to create the writeups!
Required tools
- A drill and bits. I used a randomly selected small bit for pilot holes and a Neiko Step bit. I recently upgraded myself to some Bosch Cobalt’s which came in handy here for the hard stainless. Cutting oil highly recommended since these things are stainless.
- Angle grinder, cutoff wheel and some flap discs. In the rare occasion, I am happy I only have a 4″ model, because it made cutting a circle just a bit easier. I am using my trusty Makita 4″, paired with discs from Harbor Freight.
- A sharpie
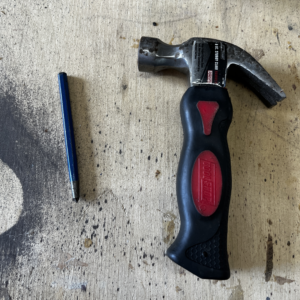
- A hammer and a punch (Starting a drill in a stainless keg with no flat surfaces is a bit tough without this)
- Dremel or other rotary tool. I use a Dremel 3000 and have the flex shaft. The flex shaft is not required, but makes almost all Dremel tasks more convenient
Parts I used
- An old keg
- A ball valve
- A dial thermometer
Step 1 – Cut the hole on the top
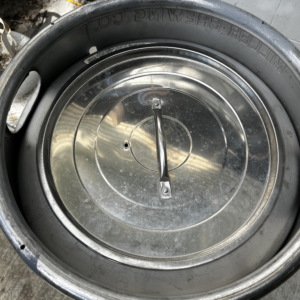
For my build I decided I was going to make the lid from my old kettle dual purpose. So using, it I marked a circle around the top of the keg. Using my angle grinder I carefully cut out the circle and rounded the edges off with a flap disc

Step 2 – Level indicators
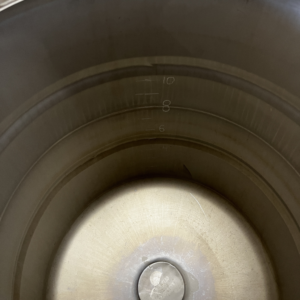
I don’t see myself making larger than 5 gallon finished batches anytime in the near future so I didn’t run these all the way to the top, but opted for only what I needed. To make my rudimentary indicators, I used a 1 gallon pitcher and poured in one gallon at a time. Each time, I used my Dremel and a mini cutoff wheel to etch a line at the water level. Once I made it all the way up to my desired level, I went back with an engraving bit, and added a few numbers. These are kind of difficult to see in the photo, but they stand out pretty well in person, while there is water in the keg.

Step 3 – Adding the valve
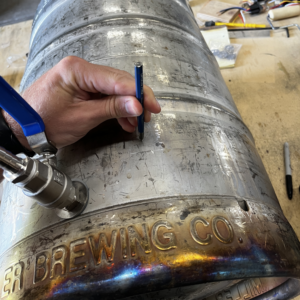
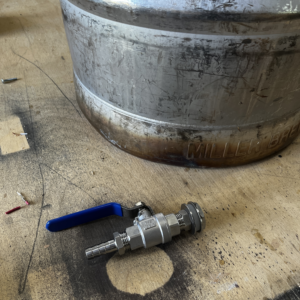
- Using the washer that came with the valve, I lined this up inside the keg at the lowest level I could above the rounded bottom. I marked this with a sharpie, then hit the center with my punch and tiny hammer I purchased for the kids. (seriously, this tiny hammer comes in handy sometimes) The rounded portion at the bottom of the keg holds about a gallon, so I figured this was high enough to minimize my wort loss while leaving some trub.
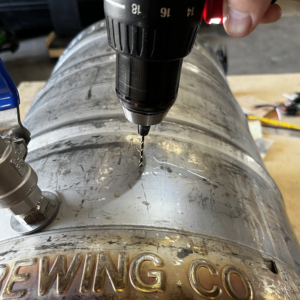
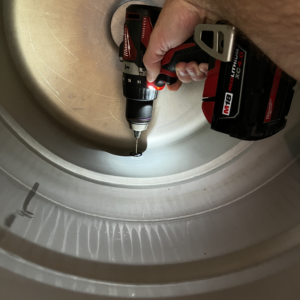
- I then drilled the pilot hole from the inside. This was a fairly awkward reach and drill angle being so far into a keg, but I wanted to make sure I placed this right and didn’t have to start over. Remember since this is stainless steel, slow and steady so you don’t ruin your bits. I used cutting oil and low speed on my drill for all holes in this process.
- Then I switched over to the step bit, now with a pilot visible from outside, it made for a much easier drill. I opened this up to the step where the valve body still had to be rotated in. I was hoping this would minimize any opportunity for leaks.
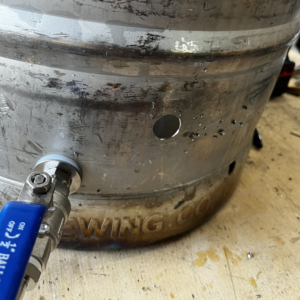
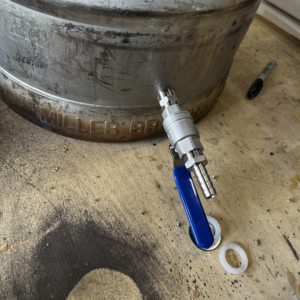
- I then took it back out and added the included washer an seals. I tightened on the interior seal and nut. Then took the valve body back off, taped up both that and the hose barb and screwed everything back together.
- This hole process (dad joke) left a lot of metal shavings inside, so before it got wet I went over it quite thoroughly with a shop vac to pick up the fragments. I also did several spray downs, and wiped dry each time to ensure none of these make it into my precious beer.
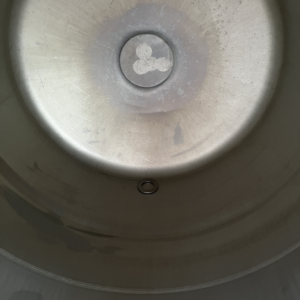
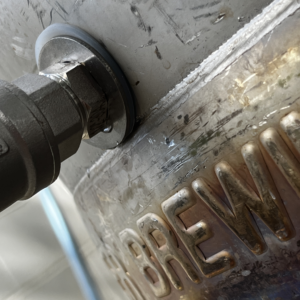
- At this point I filled it up with some hose water on top of the burner, brought it up to temp and checked for leaks. Here is where I found my only problem with this build. The valve assembly I purchased seems to be missing one nut. As you can see from the final picture, there is a tiny dribbling leak that’s coming out the inside of the washer. I believe an additional nut here instead of being butted up against this pipe nipple would solve this problem. The leak is only a drop, maybe a couple drops a minute, so I am not going to worry about it for now and brew away. If it become a problem I will fix it and update this post.








Step 4 – Adding the thermometer
This was very much a similar process to the valve, so I will illustrate it in less steps
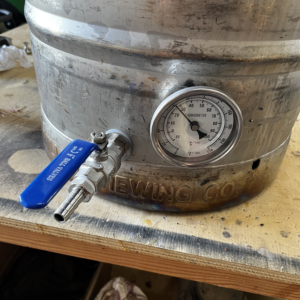
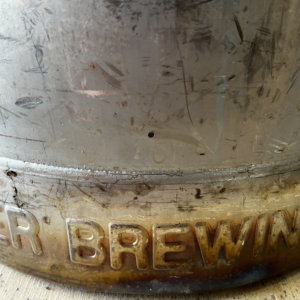
- Punch the hole location. This time from the outside as its placement seems less critical. I eyeballed this to be above the valve, but well under the 5 gallon mark, to ensure the interior probe stays submerged.
- Drill the pilot, and switch to the step bit to get it up to size.
- Finally screwed this all together by hand.
- Again cleaned up the interior shavings with a shop vac.
- No leaks on this one, so my budget selection worked perfectly!
